The Wedding of Emily Paiz and James Dastoli
Posted: September 24, 2014 Filed under: Creative | Tags: blush and champagne wedding, blush wedding, bouquet, Bride, champagne saucers, champagne wedding, classic wedding, customized napkins, doilies, Emily Paiz, escort card ideas, forest wedding, groom, J&E, James Dastoli, lace gown, lantern centerpieces, matrimony, outdoor ceremony, outdoor wedding, Paper flowers, romance, romantic, sparklers, specialty wedding cocktails, traditional ceremony, traditional wedding, victorian wedding, vintage, Wedding, wedding ceremony, wedding gown, wedding gown sash, wedding sparklers, woods wedding 5 CommentsAfter more than a year of being engaged and many months of planning, anticipation, and excitement, our big day finally came. We were nervous, naturally, and anxious for the days events to begin. However, once the wedding actually began we were much calmer, and were thrilled to have so many of our loved ones around us showing their support.
The wedding was held at my parent’s home in North Smithfield, Rhode Island, and we could not be more grateful for all of the amazing help that they provided in making it all come together.
The weather report showed thunder storms for that day, so we rented a last minute tent as we had initially planned to have the reception completely outdoors under the night sky. It thankfully did not rain, but it was best to be safe and our reception turned out lovely. We decided to keep the strung garden lights above the tables at the reception to maintain the effect we were going for. Additionally, we did not have a very solid contingency plan for the ceremony if it did rain, so we sighed a deep sigh of relief when the skies looked clear and we were able to have the ceremony by the woods just as we had envisioned.
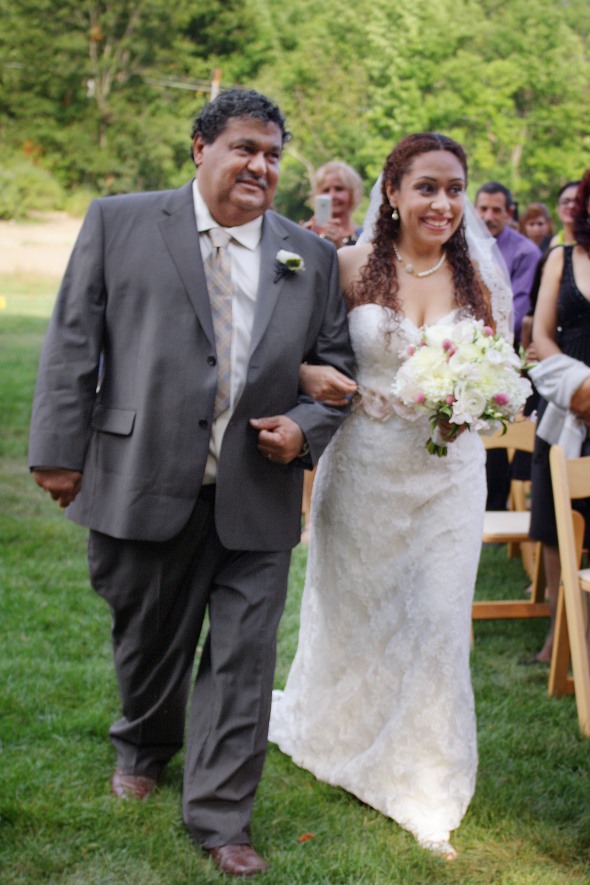
We kept with a simple ceremony, using traditional wedding vows and the wedding march/wedding exit music played by our live band. Keeping with tradition, James had never seen my wedding gown until he saw me walking down the aisle with my father. This was also when he was finally able to see what the sash he saw me working on looked like with my gown.
As expected, James looked stoic and calm standing down the aisle, while I was nervous and smiling. Once I reached the ceremony table I felt so much excitement to be standing there with him, and his smile and gaze told me he felt the same.
We rented the linens along with the chairs, silverware, glassware, and china. We were able to pick our linens from a very wide variety and went with a champagne colored tablecloth covered by ivory lace. For the napkins we selected a damask pattern. We chose ivory china with a gold rim, and went with champagne saucers instead of flutes. James and I found our gold rimmed champagne saucers for the wedding toasts at an antiques market, and they looked wonderful with our table settings.
Our centerpieces had a few different elements to them, most of which were hand crafted. We found these lanterns that matched our aesthetic and put a little candle inside each one. Underneath the lantern were doilies handmade by my mother. Sitting around the lantern were the paper flowers James and I made a couple of months before the wedding. Then we had little frames painted an ivory color to hold the table numbers which we printed onto the same paper used for our invitations.
The food was catered by my very own parents’ restaurant, and it was fantastic. We received several compliments on the food by many people who did not even know that my family had made it. My mother handled most of the seasoning and had a small crew assisting her with the execution. We decided to serve the food buffet style in order to allow guests to have their choice and their fill, and placed menus on each plate to display the options. For the entrees James and I choose rib-eye steak, chicken marsala with mushrooms, and meatloaf, which are some of our favorite foods that also maintain a classic wedding theme.
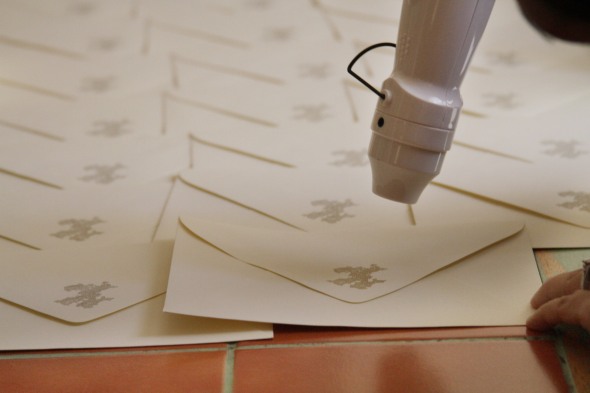
We rented a beautiful bar that was actually built by the owner of the rental company, and we hired two bartenders to serve cocktails, beer, and wine. Guests had a very wide variety of drinks to choose from at the open bar that went on all night, including our two specialty cocktails. We also ordered customized cocktail napkins with the same monogram James created for our invitations.
We implemented small decorative details throughout the wedding that emoted a romantic outdoor wedding theme, such as a wooden cabinet for escort cards and a birdcage to hold gifts.
Since we had a buffet style dinner, we decided to have cupcakes instead of a full wedding cake. It enabled guests to take their own and choose their preferred flavor. We had our cupcakes made by The Cupcakerie in strawberry, lavender, and mocha espresso.
There were also a couple of glass containers holding my all time favorite dessert: raspberry French macaroons. The wonderful owner of the bakery also made a small wedding cake for James and I to cut, and it was absolutely perfect. We sent her a few images of cake designs we liked and she was able to use those as inspiration to create our ideal little wedding cake. The details and design of the cake, cupcakes, and sweets display were exactly what we wanted.
For our first dance we went with “Fly Me to the Moon.” We selected that song years ago, before we even got engaged, as it represents several things to us. It is a swing/jazz song and we had a swing/jazz band play at our wedding, it is romantic, its references to the moon and planets speaks to our mutual love of space exploration, and of course we love the song melody itself.
When it got much darker we lit sparklers and had fun playing and creating images.
We have very fond memories of our wedding day and are so relieved that all went wonderfully. We had a great time seeing our loved ones and are so very grateful to all who contributed in any way to make our night successful. From the delicate details to the romantic live swing band our night was incredibly memorable. All of our hard work certainly paid off, and now we look forward to many long years of happy matrimony.


